

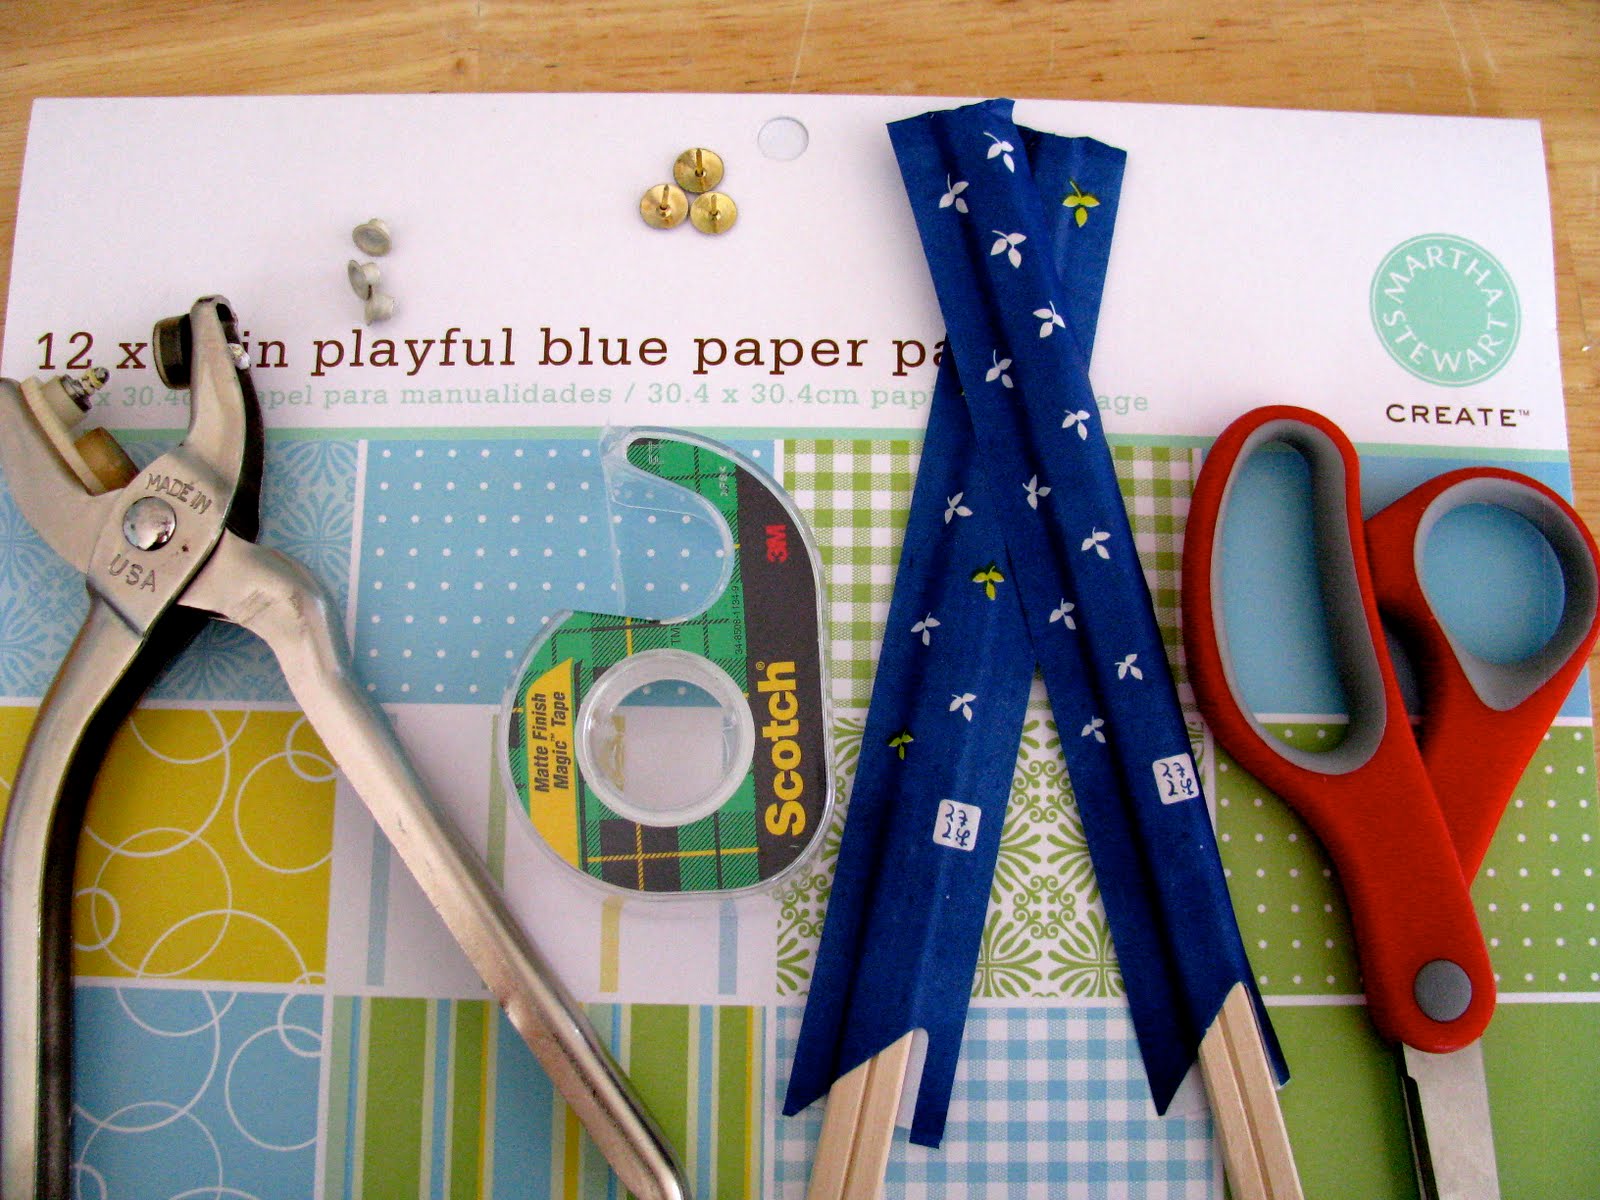
Supplies:
-Grommet tool with grommets (if you want it to be functionable)
-Tape
-Thumb tacks
-Chop Sticks
-Double sided Card Stock Paper
Directions:

1. Cut a 5 inch square piece of paper.

2. Fold it into a triangle, unfold it and fold it into a triangle the other direction so that you have an "x" in fold lines through the center of your square.
3. Start from one corner of your square and cut along the fold line towards the center of your square stopping about 1/4 inch from the center. Repeat this process for all four corners.

4. Starting at the top left corner, work clockwise around the square folding in each corner (don't crease the folds). I recommend taping down the corners in the center to keep them from slipping. You can always cut the tape later.
5. Optional Step: If you have a grommet tool and you'd like your pinwheel to be functional, put a grommet in the center of your pinwheel over top of your tape and catching each of the corners under the grommet.

6. If you choose to not make your pinwheel functional, then you can just put the thumbtack through the center of your pinwheel and into the top of the chopstick. To make it functional, put the thumbtack through your grommet and into the top of the chopstick.
Finished Product:

Enjoy kiddos!

No comments:
Post a Comment